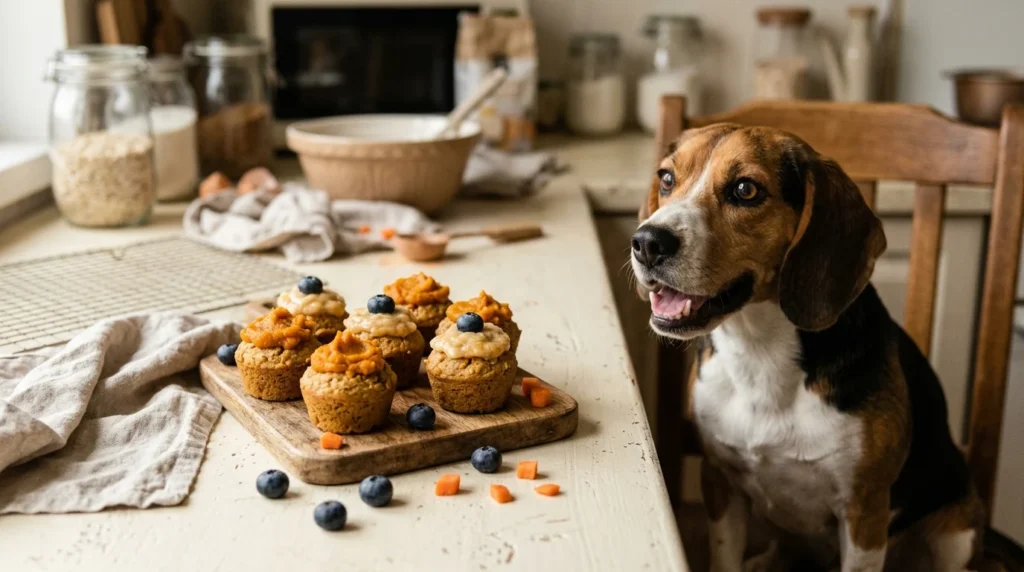
Making treats at home started as a way to control exactly what was going into Bruno and Mishi’s snacks, especially after getting more careful about reading ingredient labels following our peanut butter and xylitol scare. It turned into something I genuinely enjoy doing — these recipes are simple, the ingredients are easy to source, and both dogs treat treat-baking day like a small holiday.
(Worth noting upfront: I’m an experienced dog owner, not a veterinarian or nutritionist. These recipes use generally safe ingredients in moderation — always double-check any new ingredient against our complete safe and unsafe foods list before using it, and treats should remain a small portion of your dog’s overall daily calories.)
Before You Start: General DIY Treat Guidelines
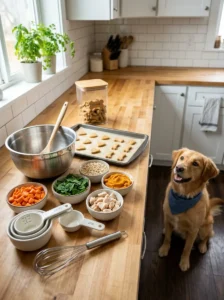
Use plain, simple ingredients. No added sugar, salt, artificial sweeteners (especially xylitol — always check labels on any pre-made ingredient like peanut butter), or seasoning blends intended for human cooking.
Treats are still treats. Even homemade, healthier treats should make up a small portion of your dog’s overall daily calorie intake, not a significant addition on top of regular meals.
Store properly. Most homemade treats without preservatives have a shorter shelf life than commercial products — refrigerate or freeze portions you won’t use within a few days.
Watch for allergic reactions when introducing any new ingredient, even in a treat, the same way you would with any new food.
Recipe 1: Simple Peanut Butter Training Bites
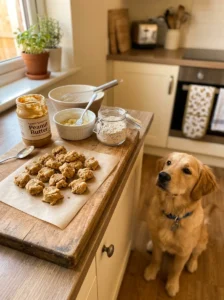
A soft, easy-to-break treat perfect for training sessions where you need lots of small, quick rewards.
Ingredients:
⦁ 1 cup plain peanut butter (xylitol-free — check the label carefully)
⦁ 1 ripe banana, mashed
⦁ 1.5 cups oat flour (or rolled oats, finely ground)
Method: Preheat oven to 350°F (175°C). Mix peanut butter and mashed banana until smooth. Gradually add oat flour until a firm dough forms. Roll into small balls or flatten into a thin sheet and cut into small training-sized pieces. Bake for 12-15 minutes until lightly golden. Cool completely before storing.
From my experience: This is genuinely our most-used recipe — the small size and soft texture make it perfect for the kind of rapid-fire reward training we do with both dogs, especially during recall practice when we need a reliably high-value, quick treat.
Recipe 2: Frozen Pumpkin Yogurt Bites
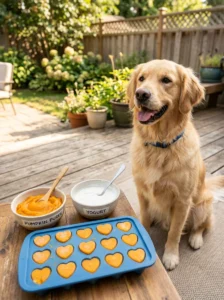
A cooling, simple treat that’s particularly popular during hot weather.
Ingredients:
⦁ 1 cup plain canned pumpkin (not pie filling)
⦁ 1 cup plain, unsweetened yogurt (in dogs who tolerate dairy reasonably well)
Method: Mix pumpkin and yogurt together until smooth. Spoon into a silicone ice cube tray or small paper cups. Freeze until solid, at least 3-4 hours. Pop out and serve frozen, especially nice on a hot afternoon.
Recipe 3: Simple Sweet Potato Chews
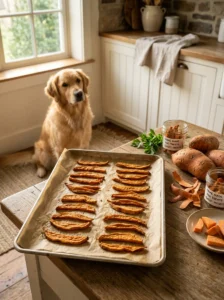
A satisfying, longer-lasting chew that doubles as a healthy treat option.
Ingredients:
⦁ 2-3 medium sweet potatoes
Method: Preheat oven to 250°F (120°C) for a low, slow bake. Wash and slice sweet potatoes lengthwise into strips, about 1/4 inch thick. Place on a baking sheet and bake for 2.5-3 hours, flipping halfway through, until dehydrated and chewy rather than soft. Cool completely before storing in the refrigerator.
This one takes longer than the others, but the resulting chewy texture has made it one of Bruno’s favorite longer-lasting treats, genuinely keeping him occupied for a while rather than disappearing in one bite.
Recipe 4: Chicken and Rice Training Treats
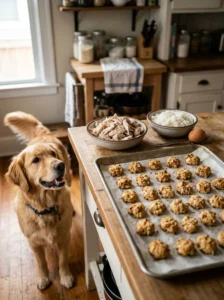
Useful both as a treat and a gentler option if your dog has shown any sensitivity to richer ingredients.
Ingredients:
⦁ 1 cup cooked, finely shredded plain chicken (no skin, no seasoning)
⦁ 1 cup cooked plain white rice
⦁ 1 egg
Method: Preheat oven to 350°F (175°C). Combine all ingredients in a food processor or by hand-mashing until well combined into a paste-like consistency. Spread thinly on a parchment-lined baking sheet, or roll into small balls. Bake for 20-25 minutes until firm. Cool completely before storing in the refrigerator, since this recipe (lacking preservatives) has a shorter shelf life than the others.
Recipe 5: Blueberry Oat Treats
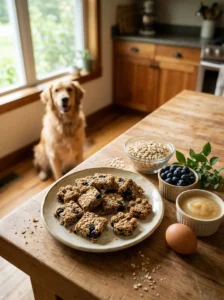
A simple, antioxidant-rich option using another dog-safe fruit.
Ingredients:
⦁ 1 cup rolled oats, ground into flour (or use oat flour directly)
⦁ 1/2 cup fresh or frozen blueberries
⦁ 1 egg
⦁ 1/4 cup plain unsweetened applesauce
Method: Preheat oven to 350°F (175°C). Mix oat flour, egg, and applesauce until combined. Gently fold in blueberries. Drop small spoonfuls onto a parchment-lined baking sheet. Bake for 15-18 minutes until firm. Cool completely before storing.
Storage Tips for Homemade Treats
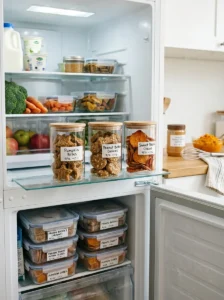
Refrigerator storage: Most of these recipes, lacking commercial preservatives, last about a week when stored in an airtight container in the refrigerator.
Freezer storage: For longer storage, freeze portions in a single layer before transferring to a freezer-safe container, which prevents them from sticking together into one large block.
Watch for spoilage signs. Treats containing fresh ingredients like banana, pumpkin, or yogurt have a shorter safe window than drier recipes — discard anything that seems off, just as you would with your own food.
Adjusting Recipes for Allergies or Sensitivities
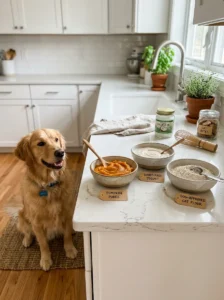
If your dog has a known food sensitivity, these recipes can often be adjusted:
⦁ Peanut allergy: substitute with plain pumpkin puree in the peanut butter recipe
⦁ Dairy sensitivity: skip the yogurt recipe, or substitute with a dairy-free alternative your vet approves of
⦁ Grain sensitivity: substitute oat flour with a vet-approved alternative flour, though given that grain allergies are less common than other food sensitivities (covered in our ⦁ grain-free food guide), confirm this is actually necessary for your specific dog first
Why I Started Making Treats at Home

Beyond the ingredient control angle, making treats at home has become a genuinely enjoyable activity, and it’s noticeably more affordable than consistently buying commercial treats, especially for two dogs going through treats regularly during training sessions. It’s also given me a much better intuitive understanding of what’s actually in the treats my dogs eat, beyond just reading labels on commercial products.
Equipment That Makes Treat-Baking Easier
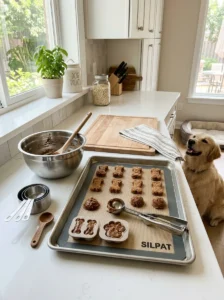
You don’t need specialized equipment to make any of these recipes, but a few inexpensive tools have made our regular treat-baking sessions noticeably more efficient. A silicone baking mat saves on parchment paper for repeated baking sessions and makes cleanup faster. A small cookie scoop helps create consistently sized training treats without needing to portion each one by hand. Silicone molds, beyond the ice cube trays mentioned for the frozen pumpkin yogurt bites, can also be used to create uniformly shaped baked treats if you want a more polished, consistent result than free-form shaping by hand.
Getting Kids Involved in Treat-Making Safely
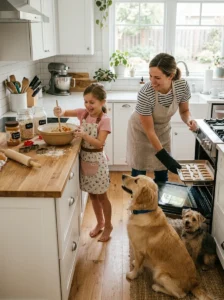
If you have children in the household, treat-making can be a genuinely nice activity to involve them in, with appropriate supervision given the use of an oven and basic kitchen tools. It’s also a good opportunity to reinforce food safety lessons that apply to both human and dog food prep — handwashing, avoiding cross-contamination, and understanding why certain ingredients (like chocolate chips, which a child might instinctively want to add) are absolutely not appropriate for dog treats regardless of how appealing that substitution might seem to a child accustomed to human baking.
Scaling Recipes Up for Larger Batches
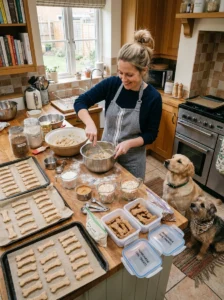
All five recipes here can be scaled up reasonably easily if you want to make a larger batch to freeze and use over a longer period, which has become our preferred approach given how much time a single baking session takes versus how quickly two dogs can go through a batch of treats. Doubling or tripling ingredient quantities generally works well for these recipes, though baking time may need slight adjustment if you’re using a significantly larger pan or thicker portions than the original recipe specifies, so checking for doneness visually rather than relying purely on the original time estimate is worth doing with any scaled-up batch.
Why Treat-Making Has Become Part of Our Bonding Routine
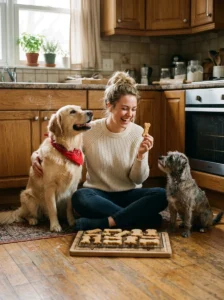
Beyond the practical ingredient-control benefits, treat-making day has genuinely become something both Bruno and Mishi seem to anticipate, hovering nearby during the process and clearly understanding that something good is coming their way. This has turned what started as a purely practical decision into something with a genuine relationship benefit too, adding another small, positive shared activity to our regular routine together.
Adapting These Recipes for Senior Dogs
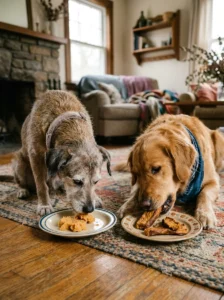
As Mishi has gotten older, we’ve made small adjustments to a couple of these recipes to better suit her current needs — the sweet potato chews, for instance, can be cut thinner and baked slightly less long for a softer final texture that’s gentler on a senior dog’s teeth and jaw compared to the fully dehydrated, chewier version we make for Bruno. This kind of small recipe flexibility has been useful for accommodating both dogs’ different needs from largely the same base recipes, rather than needing entirely separate treat-making processes for each of them.
Labeling and Organizing Your Treat Stock
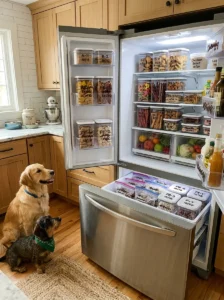
With multiple recipes in rotation and both fridge and freezer storage involved, we’ve found it genuinely helpful to label containers with the recipe name and the date made, rather than relying on memory to track freshness across several different treat types simultaneously. This small organizational habit has prevented more than one “is this still good?” moment of uncertainty, and makes it easy to grab the right treat for the right situation — the softer training bites for a session needing rapid rewards, the chewier sweet potato strips for a longer-lasting solo activity — without having to guess based on appearance alone.
Quick Reference
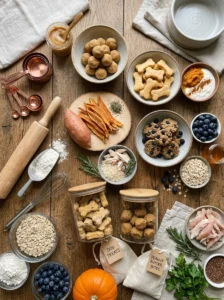
On the question of How long do homemade dog treats typically last?: This varies by recipe, but most last about a week refrigerated, or several months frozen. Recipes with fresh, moist ingredients (banana, pumpkin, yogurt) have shorter shelf lives than drier, baked recipes. On the question of Can I substitute ingredients in these recipes based on what I have on hand?: Often yes, but always check any substitution against a dog-safe foods list first, since some common baking substitutions (like using regular sugar, or certain nut flours) may not be appropriate for dogs. On the question of Are homemade treats healthier than store-bought treats?: Not automatically, but they do give you full control over ingredients, which can be valuable for avoiding additives, excess sugar, or risky ingredients like xylitol that sometimes appear in commercial products. On the question of Can puppies have these treats?: Generally yes, in appropriately smaller portions, though it’s worth confirming with your vet that the specific ingredients are appropriate for your puppy’s age and any growth-related dietary considerations.
These five recipes have become a regular part of our routine, giving us treats we feel genuinely confident about while also being something Bruno and Mishi clearly enjoy. If you’re looking to start making treats at home, I’d recommend starting with the peanut butter training bites — it’s the simplest recipe here and a great way to get comfortable with the basic process before trying the others.
For more on safe treats and feeding practices, our guides on the complete safe and unsafe foods list and best low-calorie treats for weight management are worth reading next.