Home clipping became a genuine consideration for us mainly during a stretch when professional grooming appointments were harder to schedule than usual, pushing me to actually learn some basic clipping skills rather than letting Bruno’s coat get unmanageable in the meantime. This experience taught me real respect for both what’s genuinely achievable at home and where professional skill remains hard to fully replicate.
(I’m an experienced dog owner, not a professional groomer. This reflects basic, conservative home clipping for maintenance purposes — for breeds requiring specific show-style or breed-standard clips, or any complex styling, professional grooming remains the better choice given the specialized skill involved.)
What’s Realistic for Home Clipping vs. What Needs a Professional
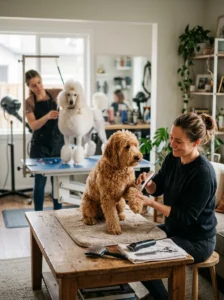
Being honest about this distinction upfront matters for setting appropriate expectations. Reasonable home clipping tasks include basic maintenance trims for breeds with simpler coat types, trimming around paws and sanitary areas, and general coat shortening for breeds without complex styling requirements. Tasks better left to professionals include any breed-specific styling (like Poodle clips), working with breeds whose coat requires specific technique to avoid damage, and any situation where you’re not confident about avoiding accidentally cutting skin, particularly around sensitive areas.
Basic Equipment for Home Clipping
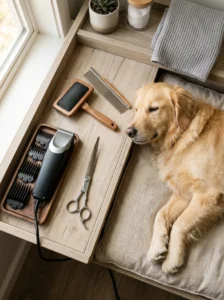
⦁ Clippers specifically designed for dog grooming, not human hair clippers, which aren’t designed for the different texture and density of dog fur
⦁ Various clipper guard attachments, allowing different length settings depending on the area and desired result
⦁ Sharp, good-quality scissors for detail work and areas clippers can’t easily reach
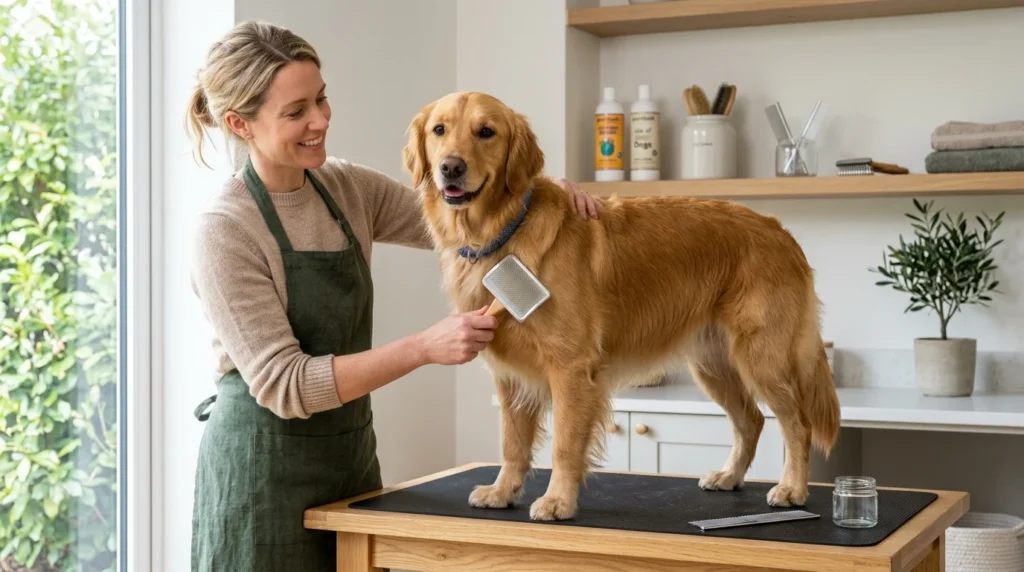
⦁ A slicker brush or comb for prepping the coat before clipping, since matted or tangled fur clips unevenly and can be uncomfortable to work through with clippers
Preparing Your Dog and the Coat Before Clipping
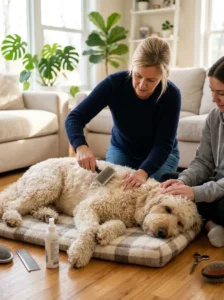
Thoroughly brush out the coat first, removing any mats or tangles, since clippers work much better on properly brushed, mat-free fur, and attempting to clip through mats can be both ineffective and uncomfortable for your dog.
Choose a calm time, ideally after some exercise when your dog is naturally more settled, rather than attempting this when they’re highly energetic.
Consider a helper for holding and reassuring your dog, particularly for a first attempt, since having an extra set of hands makes the process safer and less stressful for everyone involved.
Basic Clipping Technique
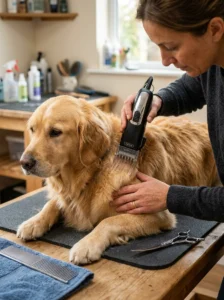
1. Start with the longest guard length appropriate for your desired result, since you can always go shorter, but can’t add length back if you clip too short initially.
2. Work in the direction of hair growth for most areas, which generally produces a more even result than working against the grain.
3. Move slowly and methodically, working through sections rather than rushing across the whole body.
4. Use scissors for detail areas — around the face, ears, paws, and sanitary areas — where clippers might be harder to control precisely or where the area is more sensitive.
5. Take frequent breaks if your dog seems stressed, rather than pushing through a single long session.
Areas Requiring Particular Caution
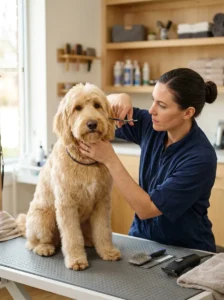
Around the face and ears, where skin is thinner and more sensitive, and where sudden movement poses more risk of nicking skin.
The sanitary area, requiring careful, precise trimming given the sensitivity and proximity to delicate anatomy.
Paw pads and between toes, where fur can be trimmed for hygiene and traction, but requires care to avoid nicking the pad itself.
Any area with skin folds or loose skin, where clippers can more easily catch and nick skin if not handled carefully.
What to Do If You Make a Clipping Mistake
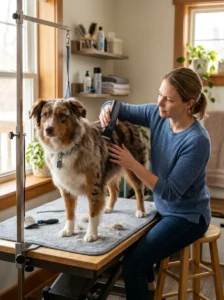
If you accidentally clip unevenly, the most common fix is simply going slightly shorter in the surrounding area to even things out, accepting that the overall length might end up shorter than originally intended. If you nick skin, even a minor cut, clean the area and apply gentle pressure if there’s any bleeding, and monitor for signs of infection over the following days — a minor nick usually heals without issue, but it’s worth keeping an eye on.
When Home Clipping Genuinely Isn’t the Right Choice
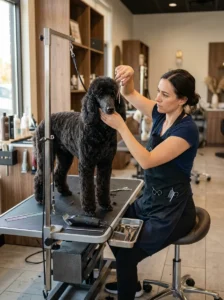
If your dog has a coat type requiring specific professional technique — like the specific Poodle clips covered in our breed guide — attempting this without professional training often produces results that need professional correction anyway, making the DIY attempt less efficient than simply scheduling professional grooming from the start.
If your dog is highly anxious or resistant to handling, attempting clipping without addressing this underlying comfort issue first, ideally through the gradual desensitization approach covered in our grooming guide, risks a stressful experience for both of you.
If you’re using clippers for the first time on a particularly complex coat, starting with a simpler maintenance task (like paw trimming) before attempting a full-body clip builds confidence and skill more safely.
Maintaining Your Clippers
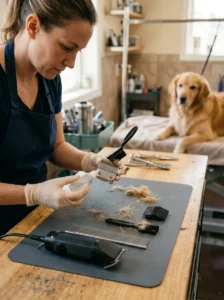
Keeping clipper blades clean and properly oiled, following the manufacturer’s specific maintenance instructions, ensures they continue cutting efficiently and comfortably rather than pulling or tugging at fur, which becomes more likely as blades dull or accumulate debris over time.
Clipper Blade Sizes and What They Mean
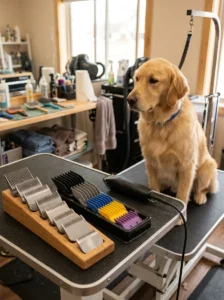
Understanding clipper blade numbering helps you choose appropriately for your goals. Lower numbers (like a #4 or #5) leave more length, while higher numbers (like a #10 or higher) clip much closer to the skin. For general home maintenance trims, staying with lower numbers that leave more length provides a safety margin against clipping too short, particularly important while you’re still building confidence and technique.
Practicing Clipper Technique Without Your Dog First
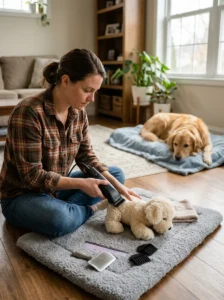
Before ever using clippers on your actual dog, practicing the basic motions on a stuffed animal, a piece of fabric, or even just in the air, helps build comfort with the tool’s weight, sound, and handling before introducing the real, more consequential task. This might seem unnecessary, but building this baseline comfort genuinely translates to steadier, more confident handling once you do begin working with your actual dog’s coat.
When Home Clipping Saves Genuine Time and Money
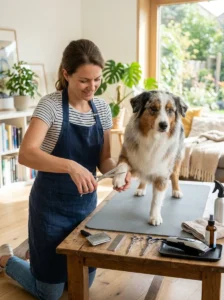
Despite the learning curve involved, home clipping does offer real practical benefits once you’ve built sufficient skill — avoiding the need to schedule and travel to grooming appointments, having more direct control over timing (useful if your dog’s coat needs attention between regularly scheduled professional visits), and genuine cost savings over time for routine maintenance trims that don’t require complex styling. These benefits became clear for us specifically during that stretch when professional grooming access was less convenient, motivating us to build this skill in a way we might not have prioritized otherwise.
Clipping Around Sanitary Areas: A Closer Look
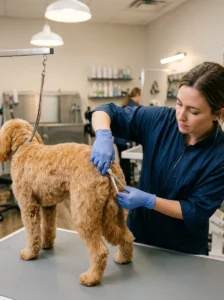
This specific task deserves additional detail given how important precision and care is in this sensitive area. Trimming hair around the sanitary area (sometimes called a “sanitary trim”) helps with hygiene, reducing matting and fecal matter getting caught in surrounding fur. Using blunt-tip scissors specifically, working slowly and with good visibility (proper lighting matters here), and having your dog positioned comfortably, ideally standing rather than struggling in an awkward position, all support doing this particular task safely. If you’re genuinely uncertain about this specific area, it’s one task worth considering leaving to a professional groomer even if you’re comfortable handling other home clipping tasks, given the precision required and sensitivity of the area involved.
Building Confidence Through Smaller Successes First
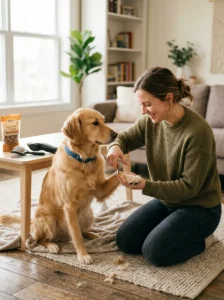
Rather than attempting a full-body home clip as your very first project, building confidence through smaller, lower-stakes tasks first — trimming paw fur, doing a simple sanitary trim, or clipping a small, less visually prominent area — lets you build genuine hands-on skill and confidence before attempting something more comprehensive. This graduated approach, starting small and expanding as your comfort and competence genuinely grow, tends to produce better outcomes and less stress for both you and your dog than attempting an ambitious full groom as your very first clipping experience.
Cleaning and Storing Clippers Properly Between Uses
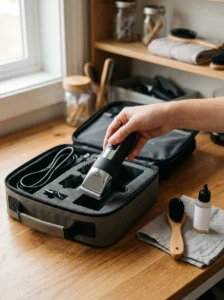
Beyond the maintenance briefly mentioned earlier, proper storage matters for keeping clippers functioning well over time. Store clippers in a dry place, ideally in their original case or a dedicated container that protects the blades from dust and accidental damage. After each use, remove trapped fur from the blade area (most clippers come with a small cleaning brush for this purpose), and apply clipper oil to the blades periodically as recommended by the manufacturer, since dry, under-maintained blades become less effective and can actually cause more pulling or discomfort during use than well-maintained equipment.
A few quick answers: Can I use human hair clippers on my dog in a pinch — This isn’t generally recommended — human clippers aren’t designed for the different density and texture of dog fur, and may not cut effectively or could overheat with the heavier workload, making dog-specific clippers a worthwhile investment if you plan to do any regular home clipping.. How short is too short when clipping a double-coated breed — For double-coated breeds, it’s generally recommended not to shave down to the skin, since this can interfere with their natural coat insulation function — sticking to a more moderate trim rather than a very short clip is the safer approach for these breeds specifically.. Is it normal for my dog to be nervous about clipper noise — Yes, this is common, particularly for dogs unfamiliar with clippers — gradual introduction, letting your dog hear and see the clippers (turned on, but not touching them) paired with treats before actually using them, helps build tolerance.. Should beginners start with scissors or clippers — Clippers are often actually easier and safer for beginners on larger areas, since scissors require more precision and carry higher risk of accidental nicks if your dog moves unexpectedly during a cut..
That stretch of doing more home clipping than usual taught me genuine respect for what’s achievable with patience and the right basic equipment, while also reinforcing where professional skill really does matter for more complex coat types or styling. If you’re considering home clipping, starting with simpler maintenance tasks and building confidence gradually, rather than attempting a full complex groom immediately, sets you up for a better experience.
For related guidance, our guides on the complete grooming guide and grooming tools every owner should own are excellent next reads.